Chocolate Easter Eggs
By Kirsten Hatch
Easter is about to hop around the corner, but why should kids have all the fun? We have an egg-cellent idea for a customizable treat that brings the joy and surprise of an Easter egg hunt right into your kitchen.
These hollow chocolate eggs are a creative cupcake topper, but they’re also fun on their own. The best part? They’re all filled with candy, just like a real Easter egg!
Here’s what you’re going to need:
- A Silicone Egg Mold
- Chocolate Melting Discs (we recommend white chocolate, but milk or dark chocolate will work for some designs)
- Food Coloring
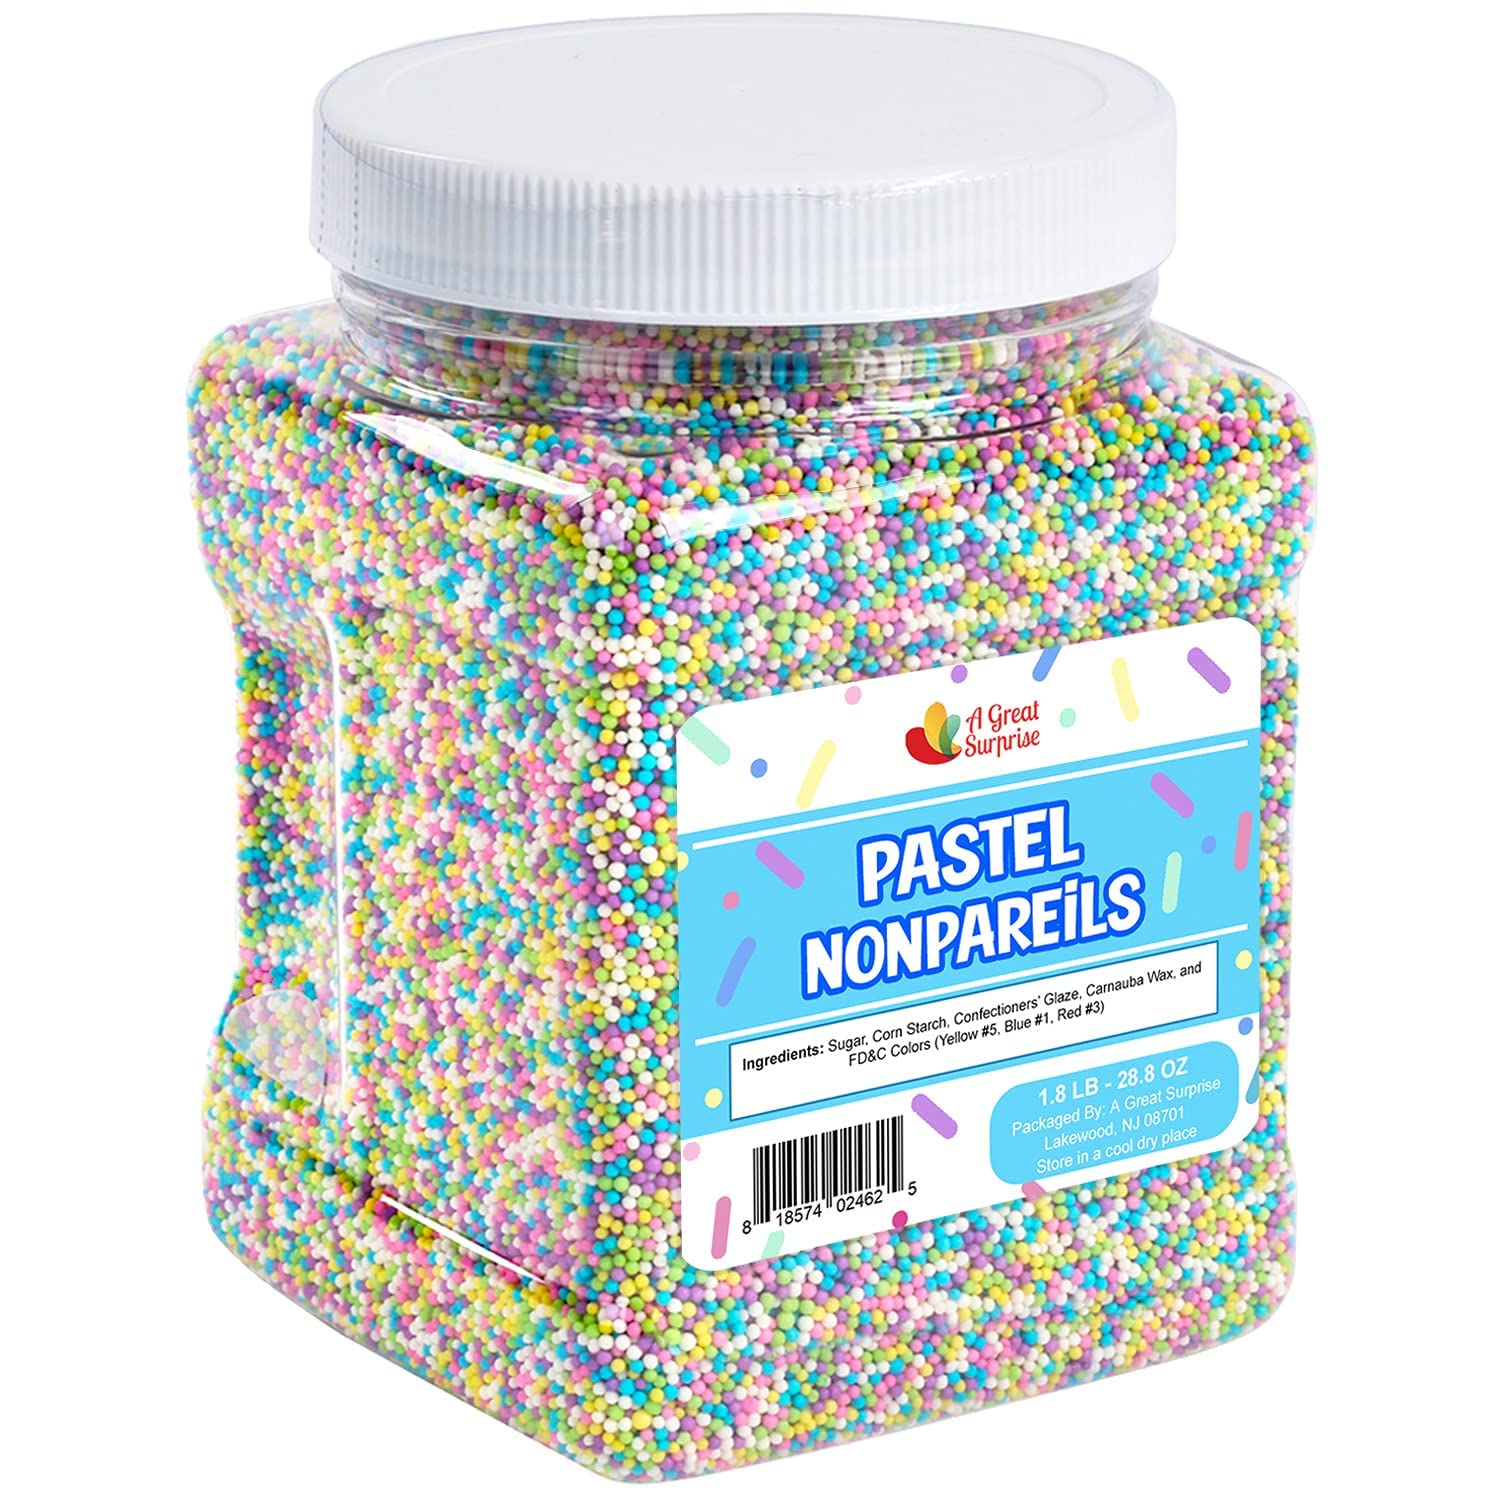
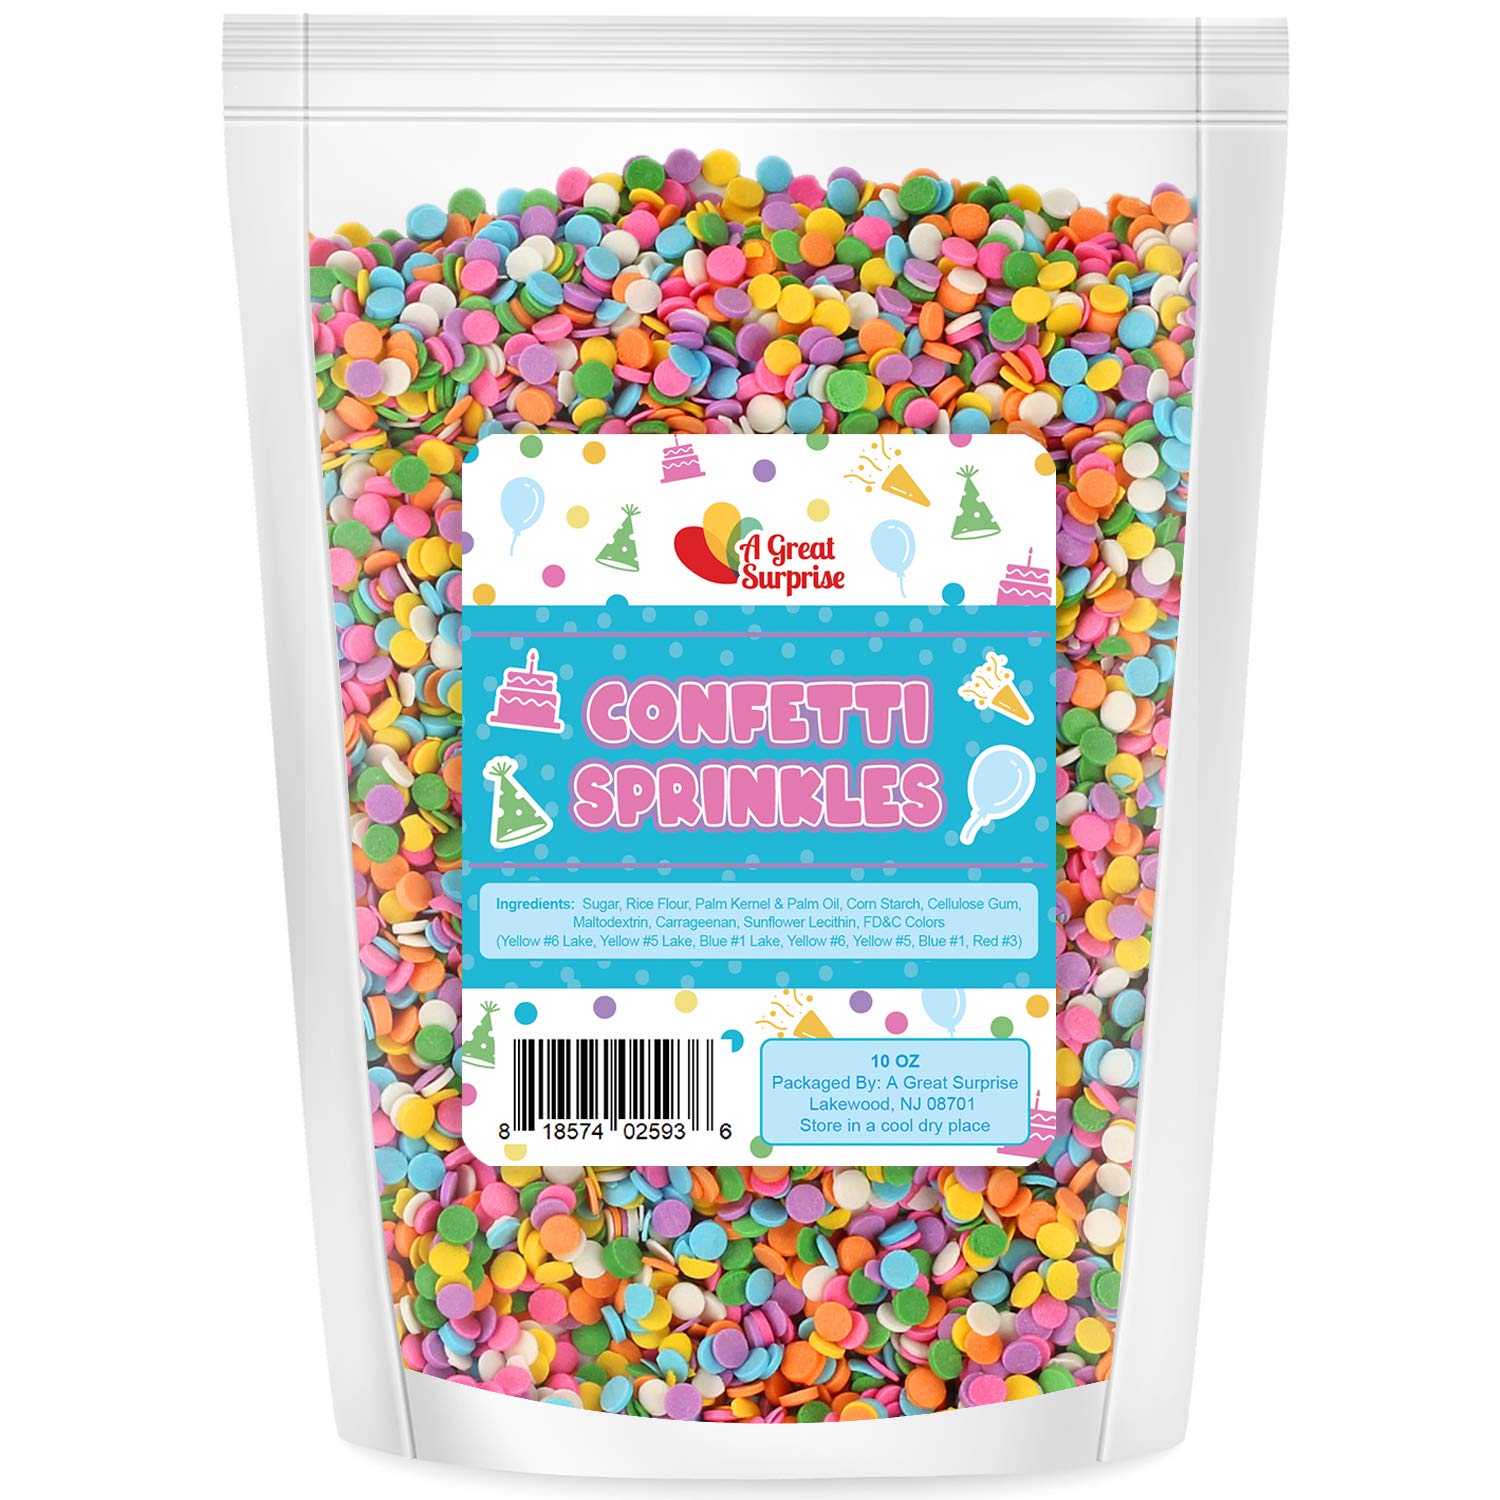
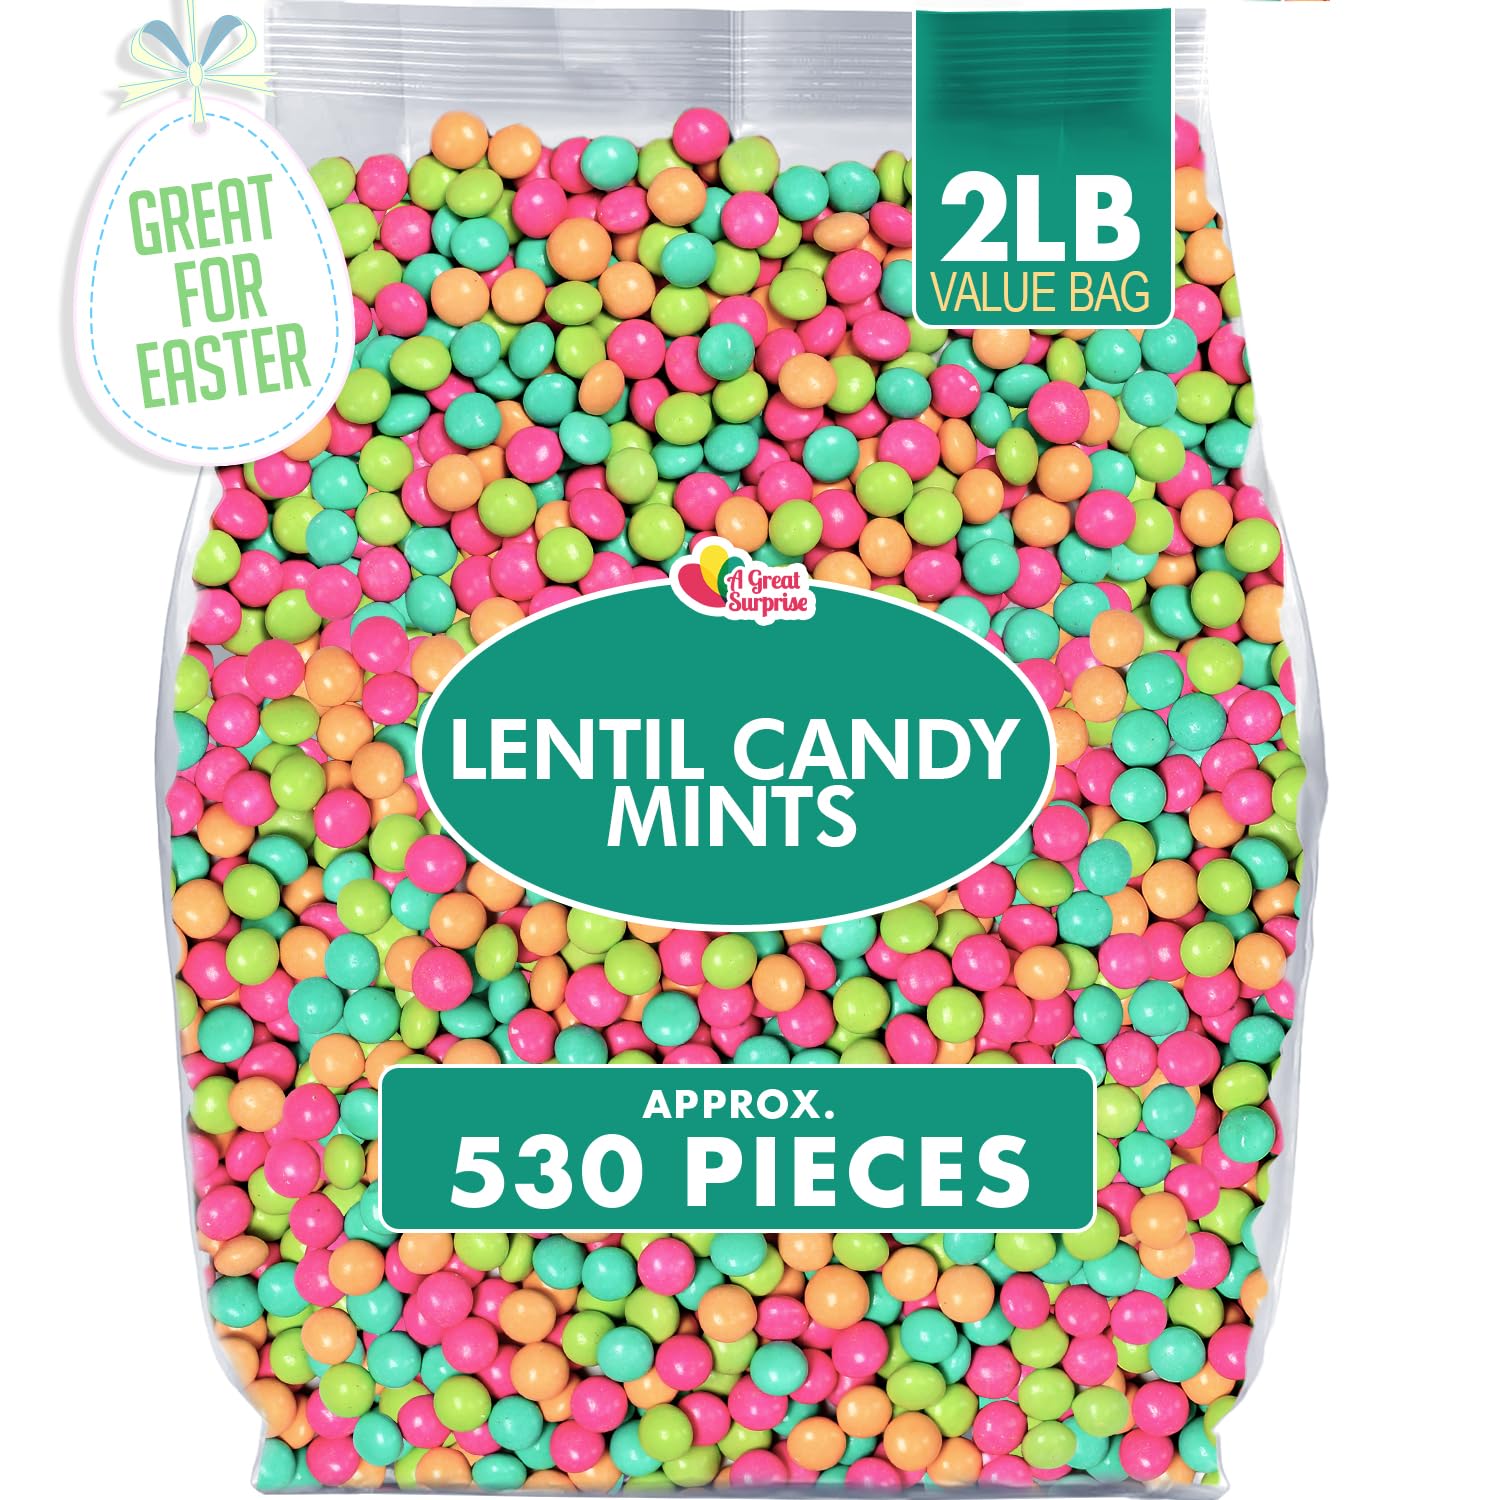
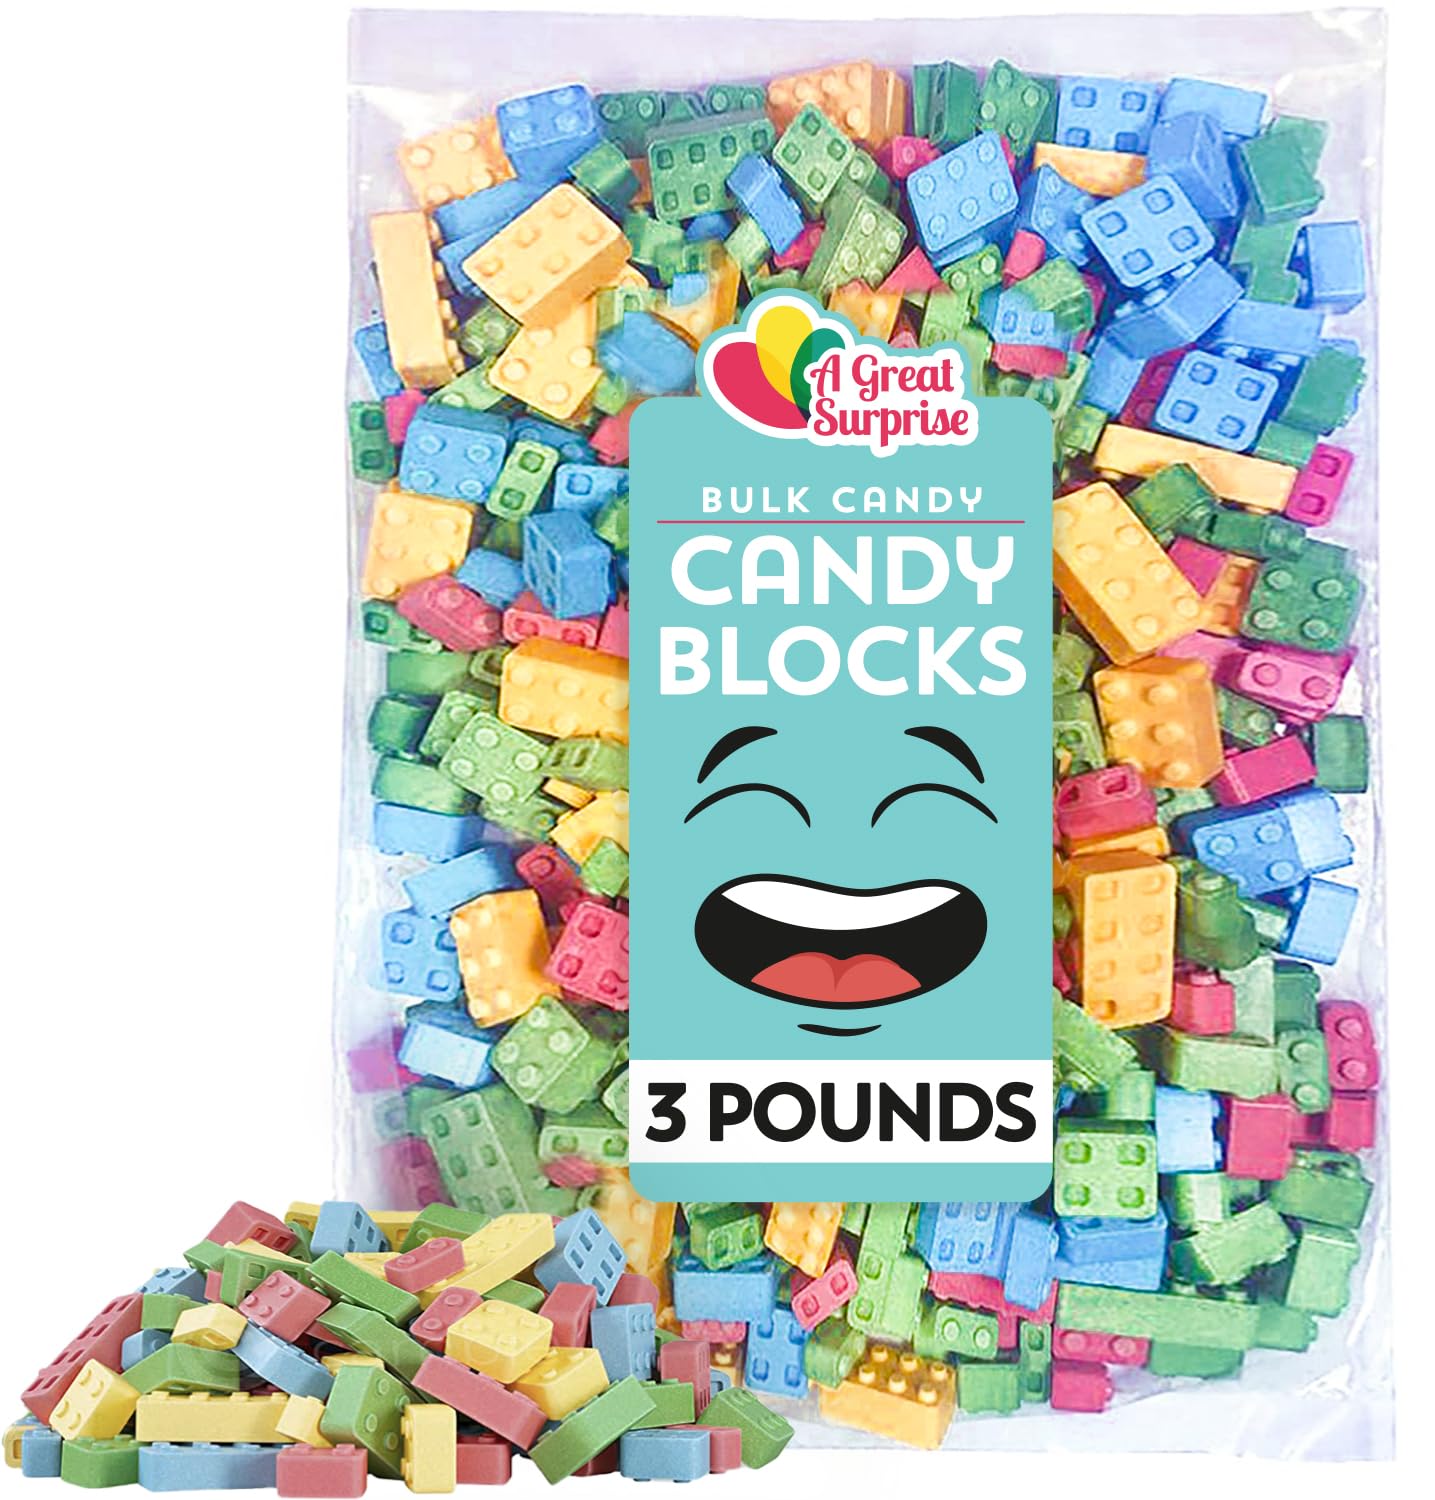
- Candy or sprinkles
- Piping bags or Mini Icing Bottles
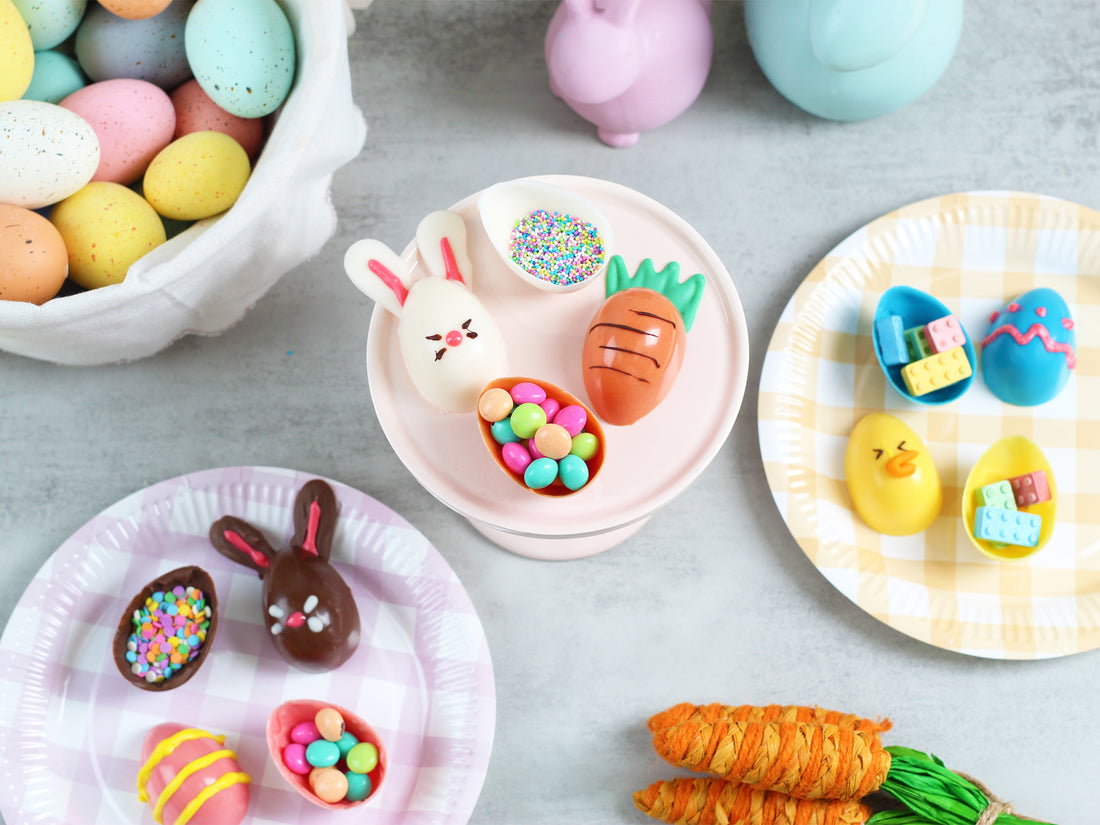
Just because the molds are egg-shaped, doesn’t mean that that is the only design you can create with them. We used these molds to make bunnies, ducks, and carrots as well! You will need to decide what designs you want to make beforehand, because it will affect what colors you need.
Start by melting your chocolate. If you are using white chocolate, you will need to dye it, but if you are using milk or dark chocolate you can skip the next step.
Once your chocolate is melted, add the food coloring to dye it to the color of your choice. Rather than melting a lot of chocolate at once and portioning it out so you have all your colors available at once, we recommend melting and dyeing more chocolate as you need it. If you let your chocolate sit for too long before you use it, it will start to harden and become difficult to work with. Once you’ve melted chocolate once, it’s easier to burn it in attempts to remelt.
Spoon your colored chocolate into the molds until they’re about halfway full, then use a spoon or an offset spatula to spread it up the side of the mold until it reaches the upper edge. If you like, you can spoon two colors into the mold to create a tie-dye effect.
For detailed instructions on how to properly melt your chocolate and make your chocolate egg shells you can check out our Heartfelt Hot Chocolate Bombs post.
If you are using your molds to make bunnies or carrots, you will need to make the ears and carrot tops. Here’s how we did it!
- Ears: On a piece of wax paper, spoon a small amount of chocolate, preferably the same color that you used to make the bunny’s head. Use the spoon or an offset spatula to drag the chocolate so it tapers off. Repeat for as many ears as you need. Wait for the ears to cool before using piped icing or chocolate to add the pink inner ear.
- Carrots: On a piece of wax paper, spoon a small amount of green chocolate. You can use the tip of an offset spatula or a fork to drag the green chocolate into points.
Note: If you are making a special design and need extra elements, you will need to make them so they are ready before you seal the shells. We recommend making them while you are waiting for the shells to harden so everything is ready at the same time.
Before you can move on to the next step, you need to wait for the eggs to harden. Once they’ve sufficiently cooled, you can carefully remove them from the mold.
This is the part where you decide what surprise belongs inside! If you like, you can fill each of the eggs with the same thing, or you can try to customize them for each guest. If you are setting them out as a snack or a party favor, we recommend using unwrapped candies. If you are placing them on top of cupcakes, we suggest filling them with sprinkles. We filled our eggs with Pastel Confetti Sprinkles, Chocolate Candy Mints, Candy Blocks, and Easter nonpareils!
Remember to fill only half of the shells that you made, since you still need to put its match on top and seal them together. Since these shells are so delicate, we suggest using a piping bag to pipe chocolate of the same color as your egg (or bunny, chick, or carrot) on the rim of one of the shells and press them together gently. Repeat this process until all of your eggs are sealed.
Note: If you are making a special design, you will need to use extra chocolate to attach the design element to the rim of your bottom half before putting both sides together. It will be more difficult to attach your design elements after the shells are sealed.
You will need to wait for the seal to cool before you do any additional decorating. Use additional melted chocolate or icing with a piping bag or mini icing bottles to create your desired patterns and designs.
Something we learned while making our eggs is that if you only decorate one shell, or you add a design element, it will make your eggs top heavy and they will tilt. If you add your design around your entire egg or you are placing them on top of cupcakes, this may not be an issue for you.
If you are trying to display a particular part of your egg and prevent it from tipping, we suggest piping a rim or ‘feet’ onto whatever you decide is the bottom of your egg. You will likely need 3-4 ‘feet’ to stabilize your egg, and you may need to use some kind of support to hold the egg upright so the ‘feet’ or rim dries flat and it will stand the way you want it to.
We hope everyone enjoys cracking these open as much as you enjoy making them!
Have you made these? Let us know! Instagram @agreatsurprise
Need a different size or can’t find what you’re looking for? Be sure to visit our Amazon page for more options. Search by color or candy type to find exactly what you need!